Getting Started with Oil Painting - The Real Deal
So like, oil painting is probably the coolest thing you can learn if you're into art. I mean, all the famous painters like Van Gogh and stuff used oils, right? And here in Canada, we got some amazing artists too who made incredible stuff with oil paints. It's not as scary as people think, but yeah, it takes some getting used to.
The thing about oil painting is that it gives you this crazy rich color that you just can't get with other paints. Plus, it stays wet for like hours or even days, which means you can keep working on it and blending colors together. That's why so many professional artists love it - you got time to really perfect your painting without rushing.
In this guide, I'm gonna show you everything you need to know to start oil painting. We'll talk about what supplies to get, the basic techniques that actually work, and some tips I learned that'll save you from making the same mistakes I did when I started. Plus, I'll share some stuff about oil painting in Canada that might help you out.
Trust me, once you start painting with oils, you'll understand why artists have been using them for like 500 years. There's something magical about how the paint moves and how the colors look that just makes everything come alive on the canvas.
Essential Supplies You Actually Need
Okay, so first things first - you need the right stuff. Don't go crazy buying everything at once though. I made that mistake and spent like 200 bucks on supplies I didn't even use for months. Here's what you really need to start:
Paint Colors
You don't need like 50 different colors. Seriously. Get these basics and you can mix pretty much any color you want:
- Titanium White - you'll use tons of this
- Ivory Black - for mixing and shadows
- Cadmium Red Medium - bright, strong red
- Ultramarine Blue - classic blue that mixes well
- Cadmium Yellow Medium - warm, vibrant yellow
- Burnt Umber - great for earth tones and mixing
In Canada, you can find good quality paints at places like Curry's Art Store or DeSerres. Don't buy the cheapest ones - they're watery and frustrating. But you don't need the super expensive artist grade ones either when you're starting. Student grade is totally fine.
Brushes That Won't Let You Down
Get a few different brushes - maybe like 4 or 5 to start. You want some flat ones for covering big areas and some round ones for details. Hog bristle brushes are perfect for oils because they're stiff enough to move the thick paint around. Synthetic brushes work too and they're cheaper.
Here's a tip - buy decent brushes and take care of them. Clean them properly after every session with turpentine or mineral spirits, then wash with soap and water. Good brushes can last for years if you treat them right.
Canvas and Other Stuff
You can paint on canvas boards, stretched canvas, or even canvas pads when you're practicing. Canvas boards are cheap and perfect for learning. Get some medium-sized ones - like 11x14 inches or 9x12 inches. Too small and you'll get frustrated, too big and it's overwhelming.
You'll also need a palette for mixing colors. A disposable paper palette is easiest, or you can get a glass or wooden one. Some turpentine or odorless mineral spirits for thinning paint and cleaning brushes. And get some rags or paper towels - you'll use way more than you think.
Basic Techniques That Actually Work
Learning oil painting techniques is like learning to play guitar - you gotta practice the basics until they become automatic. Don't try to do everything at once. Master these fundamental techniques first, then you can get fancy later.
Color Mixing - The Foundation
This is probably the most important skill you'll learn. Oil paints blend together really smoothly, which is awesome, but you need to understand how colors work together. Start with the basic color wheel stuff - red and blue make purple, blue and yellow make green, whatever.
But here's what they don't tell you in art class - you can make any color duller by adding a tiny bit of its opposite color. Like if your red is too bright, add just a little green. It sounds weird but it works. And always mix more paint than you think you need because matching a color exactly later is really hard.
Alla Prima - Painting Wet Into Wet
This is where you paint the whole thing in one session while the paint is still wet. It's perfect for beginners because you don't have to worry about layers and drying times and all that complicated stuff. Plus, the colors blend together naturally, which creates really nice effects.
Start with something simple - maybe an apple or a simple landscape. Block in the basic shapes first with thin paint, then add the details and refine the colors. Don't overthink it. The beauty of alla prima is that it forces you to work quickly and trust your instincts.
Blending and Brushwork
Oil paint is amazing for blending because it stays workable for so long. You can blend colors right on the canvas by gently brushing where two colors meet. Use a clean, dry brush and light pressure. Don't overwork it though - sometimes a little texture looks better than everything being perfectly smooth.
Try different brush strokes too. Short, choppy strokes can create texture. Long, smooth strokes are good for skies and water. Experiment and see what effects you can get. There's no wrong way to hold a brush as long as it feels comfortable and gives you the result you want.
Working with Light and Shadow
This is where your paintings start looking real instead of flat. Understanding light is like the secret weapon of good artists. It doesn't matter what you're painting - a person, a landscape, or just some fruit on a table - if you get the light right, it'll look amazing.
Finding Your Light Source
Before you start painting, figure out where the light is coming from. Is it coming from the left? From above? Is it bright sunlight or soft indoor lighting? This affects everything - the colors, the shadows, the whole mood of your painting.
Here in Canada, we get some really interesting light, especially in winter when the snow reflects everything and makes the shadows blue. Or during autumn when the light gets really warm and golden. Pay attention to how light changes throughout the day - it's different at noon than it is at sunset.
Painting Shadows That Look Real
Shadows aren't just darker versions of the local color. They have their own color temperature. If your light source is warm like sunlight, your shadows will be cooler. If you're painting under cool fluorescent lights, the shadows might be warmer.
Also, shadows have different kinds. There's the cast shadow - like when an apple sits on a table and creates a shadow on the table. And there's the form shadow - the darker side of the apple itself. Cast shadows are usually darker and have sharper edges. Form shadows are softer and show the roundness of objects.
Highlights and Reflected Light
The brightest highlight is usually where the light hits the object most directly. But don't make everything white - even highlights have color. A red apple's highlight might be a warm peachy color, not pure white.
Reflected light is the subtle light that bounces off other surfaces and lights up the shadow areas. It's usually much dimmer than the main light, but it's what makes things look three-dimensional instead of flat. Look for it in the shadow areas - it's always there, just really subtle.
Common Mistakes to Avoid
I made pretty much every mistake you can make when I started oil painting. Some were just annoying, but others wasted a lot of paint and canvas. Here are the big ones to watch out for so you don't have to learn them the hard way like I did.
Using Too Much Solvent
When you first start, it's tempting to thin your paint way down with turpentine because it's easier to spread around. But if you use too much, the paint gets weak and won't stick to the canvas properly. Plus it takes forever to dry and can get really muddy looking.
Use just enough solvent to make the paint workable. For the first layer, you can thin it a bit, but after that, try to use the paint closer to how it comes out of the tube. It'll give you much better results and the colors will stay bright and clean.
Overworking Your Painting
This is probably the mistake I made most often. You're painting along and it's looking pretty good, but then you think "I can make it even better" and you keep working on it. Before you know it, everything gets muddy and overblended and loses that fresh, spontaneous look.
Learn when to stop. Sometimes the painting is finished before you think it is. Step back regularly and look at it from across the room. If it reads well from a distance, you might be done even if it doesn't look perfect up close.
Not Planning Your Composition
I used to just start painting without really thinking about how everything would fit together on the canvas. Big mistake. Do a quick sketch first, even if it's just with pencil on the canvas. Figure out where the main shapes go, where your darkest darks and lightest lights will be.
Think about the rule of thirds - don't put your main subject right in the center of the canvas. Put it about one-third of the way in from one side. It usually looks more interesting that way. And don't fill up every inch of the canvas - some empty space gives the eye a place to rest.
Oil Painting in Canada - Resources and Inspiration
Canada has such an amazing tradition of oil painting. The Group of Seven basically defined how we see the Canadian landscape, and they did it all with oil paints. Looking at their work can teach you so much about how to capture the mood and atmosphere of different places.
Learning from Canadian Masters
Tom Thomson's paintings of Algonquin Park are incredible examples of how to use bold, expressive brushstrokes. Lawren Harris showed how to simplify complex mountain landscapes into powerful, graphic compositions. Emily Carr's forest paintings demonstrate how to create depth and atmosphere with color and brushwork.
You can see their work at galleries across Canada - the Art Gallery of Ontario in Toronto has an amazing collection, and the National Gallery in Ottawa has tons of Canadian art. Even if you can't visit in person, most galleries have online collections you can study.
Finding Art Classes and Workshops
Most cities in Canada have community centers or art schools that offer oil painting classes. Even smaller towns usually have something. The Federation of Canadian Artists has chapters all across the country, and they often organize workshops and painting groups.
Plein air painting groups are really popular here too - that's where you paint outdoors, directly from nature. It's challenging because the light changes so fast, but it teaches you to work quickly and capture the essential elements. Plus, Canada has some of the most beautiful landscapes in the world to paint.
Dealing with Climate Challenges
Painting in Canada comes with some unique challenges. In winter, if you're painting in an unheated garage or studio, your paint gets really thick and hard to work with. Keep your paints somewhere warm, or warm them up before you start painting.
Humidity can affect drying times too. In summer, paintings might dry faster than you expect. In humid weather, they might stay wet longer. Just something to keep in mind when you're planning your painting sessions.
Building Your Skills Over Time
Oil painting isn't something you master in a few weeks or even months. It's a long journey, but that's part of what makes it so rewarding. Every painting teaches you something new, and you'll be amazed at how much you improve just by doing it regularly.
Set up a regular practice schedule if you can. Even painting for an hour once a week is better than painting for six hours once a month. Consistency helps you build muscle memory and develop your eye for color and composition. Plus, it's easier to pick up where you left off if you haven't been away from it too long.
Don't get discouraged if your paintings don't look like the ones you see in galleries right away. Those artists have been painting for decades, and you're seeing their best work, not their practice studies. Focus on learning something new with each painting, whether it's a color mixing technique or a way to paint clouds or whatever.
Keep all your paintings, even the ones you don't like. It's really motivating to look back at your early work after you've been painting for a while and see how much you've improved. Plus, sometimes paintings that you think are failures at first actually have something good in them that you can learn from later.
Your Next Steps into Oil Painting
Starting oil painting is honestly one of the best decisions you can make if you're interested in art. Yeah, it takes time to learn and yeah, you'll make mistakes, but there's nothing quite like the satisfaction of creating something beautiful with your own hands. The smell of the paint, the feel of the brush, the way colors blend together - it's all part of the experience.
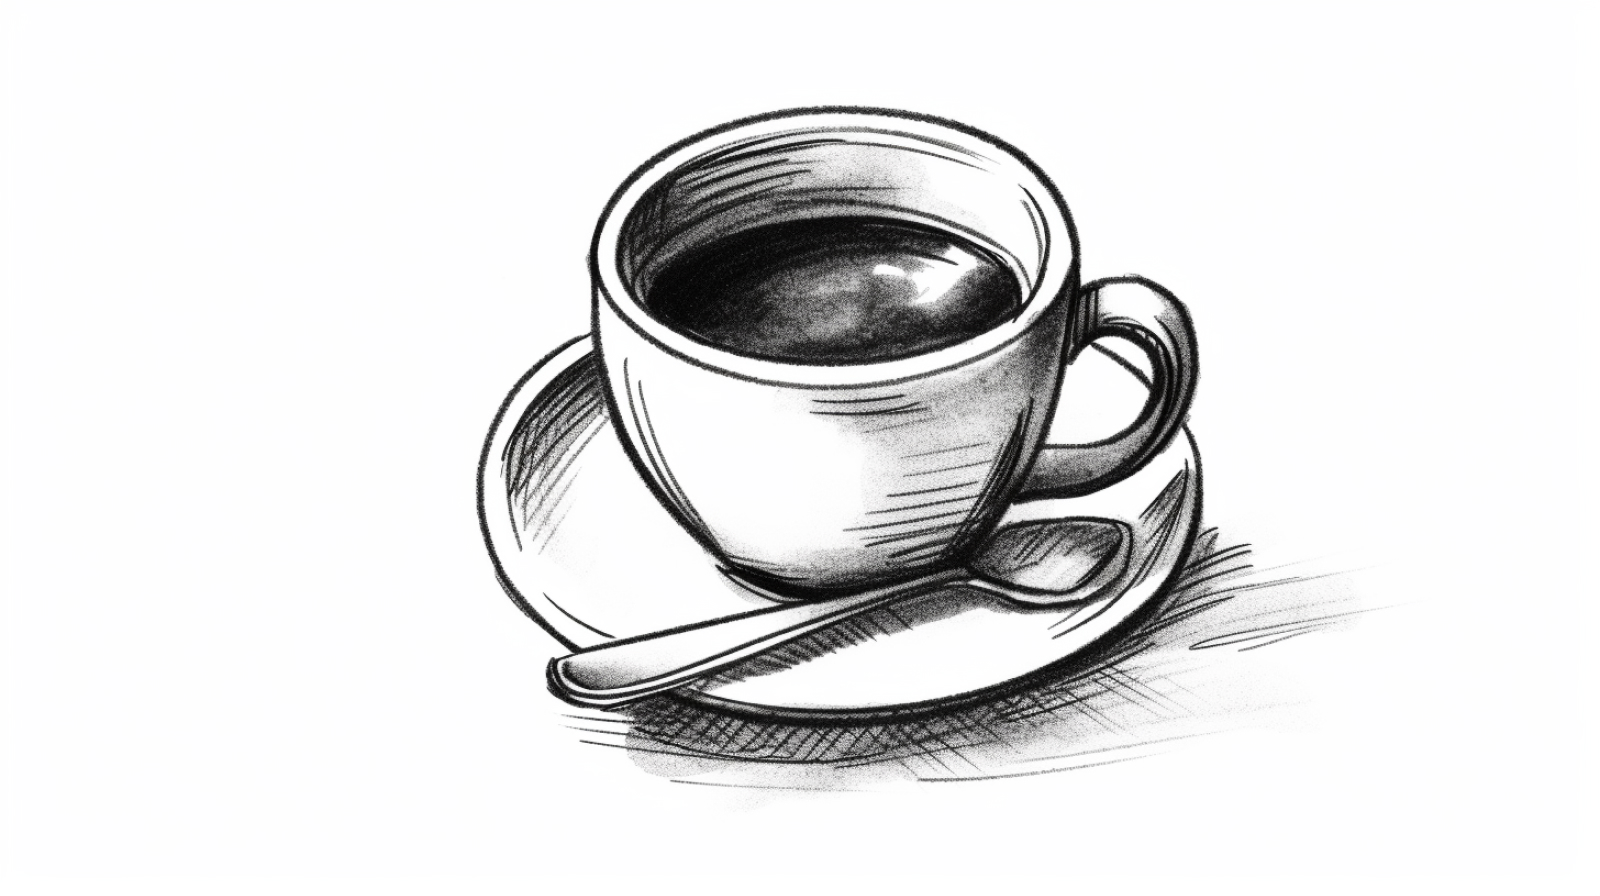
Don't wait for the perfect moment to start. Get your basic supplies, set up a small workspace, and just begin. Paint simple things at first - an apple, a cup, whatever's around your house. Focus on getting the colors right and understanding how light hits objects. The technical stuff will come with practice.
Remember that every professional artist was once exactly where you are now - holding a brush for the first time, mixing colors that don't quite look right, wondering if they'll ever get good at this. The only difference between them and beginners is that they kept going. They painted through the frustration and the bad paintings and the times when nothing seemed to work.
json